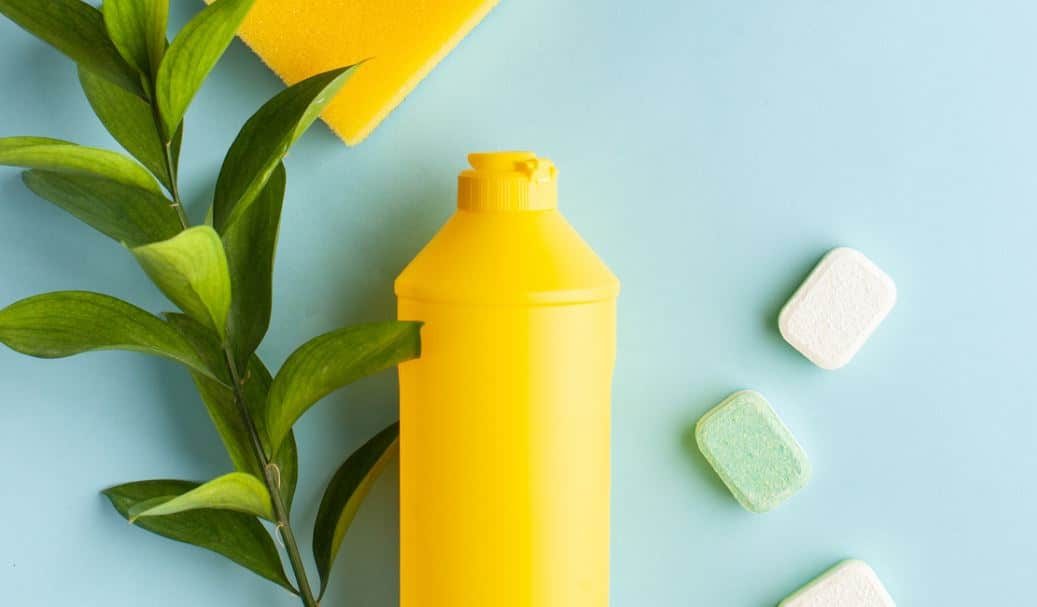
We are finally waking up to the fact that we need to cut back on industrial chemicals. The goal is simple. Keep the planet intact for future generations. Do not hand them a mess. Some of the most exciting new ideas are actually old habits returning. Making your own cleaning products at home is one of them. Do-it-yourself solutions are gaining serious traction.
Factory-made laundry detergents and cleaners are slowly being replaced. Natural alternatives are taking their place. It is no longer a niche hobby. Making dishwasher tablets has become a near-daily routine for many. The shift is real. The benefits are clear.
Why Switch to Homemade Cleaners?
The drive toward natural products isn’t just about saving money. It is about health. It is about the environment. Industrial cleaners often contain harsh surfactants, bleaches, and synthetic fragrances. These can linger on dishes. They can end up in waterways. They can irritate sensitive skin.
Homemade tablets offer a cleaner approach. You control the ingredients. You know exactly what goes into your sink. You avoid the plastic waste associated with mass-produced brands. The results are surprisingly effective.
The Basics of DIY Dishwasher Tablets
Making these tablets is straightforward. You do not need a chemistry degree. You need a few basic ingredients and some patience. The key components usually include:
- Sodium carbonate (washing soda): This boosts cleaning power. It helps cut through grease.
- Citric acid: This provides the fizz. It helps remove hard water spots. It also acts as a natural bleaching agent.
- Salt: This softens water. It prevents mineral buildup.
- Essential oils: These add scent. They also have antimicrobial properties. Lemon or tea tree oil are popular choices.
Mix these dry ingredients in a bowl. Add a small amount of water or alcohol to bind them. The mixture should hold together when squeezed. Press it into a mold. Let it dry completely. This can take a few days. Patience is required. Wet tablets will not work. They will crumble or dissolve prematurely.
Safety and Tools
Handle your materials with care. Citric acid can irritate the eyes. Washing soda is alkaline. Wear gloves if you have sensitive skin. Work in a well-ventilated area. Keep the mixture away from children and pets.
You will need:
– A mixing bowl
– A whisk or spoon
– A silicone mold or ice cube tray
– A spray bottle (for binding agent)
Measure your ingredients carefully. The ratio matters. Too much acid can weaken the structure. Too much soda can leave residue. Start with small batches. Adjust as needed.
The Result
Once dried, these tablets are hard. They last for months. They fit standard dishwasher racks. They clean effectively. Your dishes come out shiny. There is no chemical aftertaste. The process feels rewarding. You are participating in a larger movement.
The shift away from industrial chemicals is accelerating. More people are taking control of their cleaning routines. It starts with small changes. One batch of tablets at a time. The impact adds up. We are not just cleaning dishes. We are protecting our home. We are protecting the planet.
The question remains. Will you join
The DIY Dishwasher Tablet Formula
Making your own dishwasher tabs is less about chemistry and more about patience. You want nine tablets? Here is the baseline ratio that works.
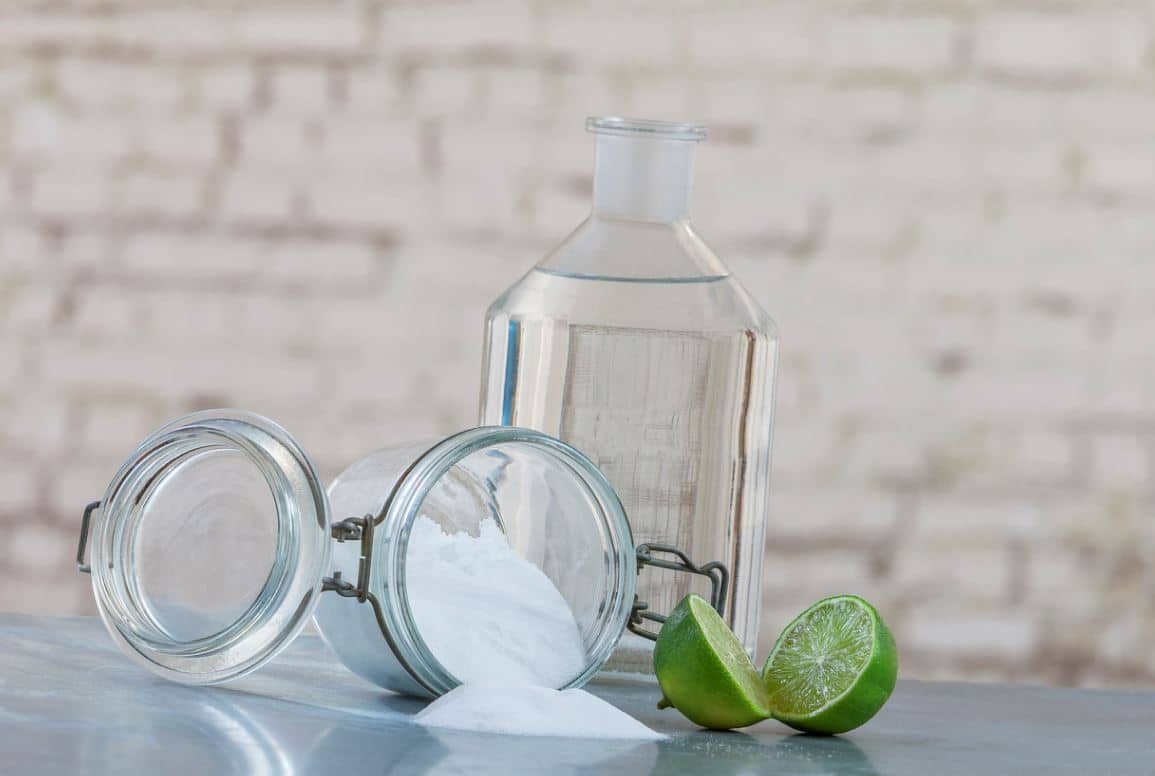
- 3 tablespoons of citric acid. It cuts through hard water scale.
- 3 tablespoons of baking soda. It tackles grease and neutralizes odors.
- 3 tablespoons of washing soda. A water softener and degreaser. Handle with care. It’s irritating to skin and eyes.
- 3 tablespoons of coarse kosher salt. Non-corrosive abrasive. It adds shine to glass and helps soften water.
- 20 drops of essential oil. Lemon and lavender are standard for antiseptic properties and that “clean” scent.
- Water. Just a splash.
Adjust these proportions if you want a bigger batch. The key is keeping the four dry ingredients in equal parts.
Tools You Will Need
You don’t need fancy equipment. Just:
- An ice cube tray (silicone works best for release).
- A mixing bowl.
- A whisk or a sturdy fork.
Mixing the Batch
Dump the dry ingredients into the bowl. Mix them until they are fully combined. No clumps allowed. Add the essential oils now.
Here is where people mess up. Add water slowly.
Too much water creates a paste that won’t hold. Too little and it crumbles. You want the mixture damp enough to mold into a ball, but not wet enough to run.
Use a spray bottle if you can. It gives you control. Dampen the mix. Don’t pour.
If you stir too fast, you trigger a chemical reaction. Foaming.
Washing soda foams more than powdered forms. If you see bubbles forming, stop. Wait for the reaction to settle. The volume will decrease. Then continue.
Molding and Drying
Pack the mixture into the ice cube tray. Press down hard.
This is the most important step. If you don’t tamp it down, the tablet falls apart later. You want density.
Leave them to dry.
- Sunlight? A few hours.
- Room temperature? Give it 24 hours.
If a tablet crumbles when you touch it, you added too much water. Press it back into the mold. Dry it again.
Storage and Maintenance
Store your finished DIY dishwasher tablets in an airtight jar. Keep it in a dry place.
Humidity is the enemy. If the tablets absorb moisture from the air, they lose their effectiveness before you even use them.
To get the best results, skip the commercial rinse aid. Use white vinegar instead. You can add citrus peels or a drop of lemon oil for scent. The vinegar descales the interior of your machine. It keeps the sprayers clear. It protects the seals.
Your dishes will be clean. Your machine will last longer. And you won’t be buying plastic bottles from the store.
It’s a habit. Once you get the ratio right, it becomes muscle memory. The mixing. The pressing. The waiting.
Does anyone really need another pre-packaged chemical pod? Probably not.
The powder option
Skip the wet mix entirely. You can make a dry version that lasts longer. No water needed here. Just mix your ingredients until they are uniform.
Store the powder in an airtight jar. Keep it somewhere dry. Humidity is the enemy of this mix. If it clumps, it won’t dissolve properly.
When you are ready to wash, fill the tablet compartment to the brim. Do not compress it. Just let it sit loose.
Maintenance rules you should know
Vinegar alone is not a miracle worker. It does not replace regenerant salt. Especially if you have hard water. Your machine needs that salt to soften the minerals. Without it, you get scale.
Add lemon peels to the cutlery basket. The acid cuts through grease better when combined with the cycle’s heat.
Run a hot cycle often. Medium temperatures every day leave residue. It builds up. You need heat to burn it off.
Deep cleaning the machine
Once a month, run an empty cycle. High temperature. Add white vinegar or citric acid and some salt. This decalcifies the interior. It cleans the hidden spots. Your machine will last longer if you do this.
White spots on your dishes? That is a sign of hard water. Add coarse salt to your wash cycle. It helps prevent the film from forming.
Do not ignore the filter. Take it out. Clean it. Every few weeks. It catches the debris that causes smells and clogs.
The reality of DIY
Even the most dedicated eco-warmer will tell you to switch back to store-bought tablets sometimes. One industrial wash for every five homemade cycles. The manufacturing process ensures consistency that home mixes struggle to match. You get the best of both worlds.