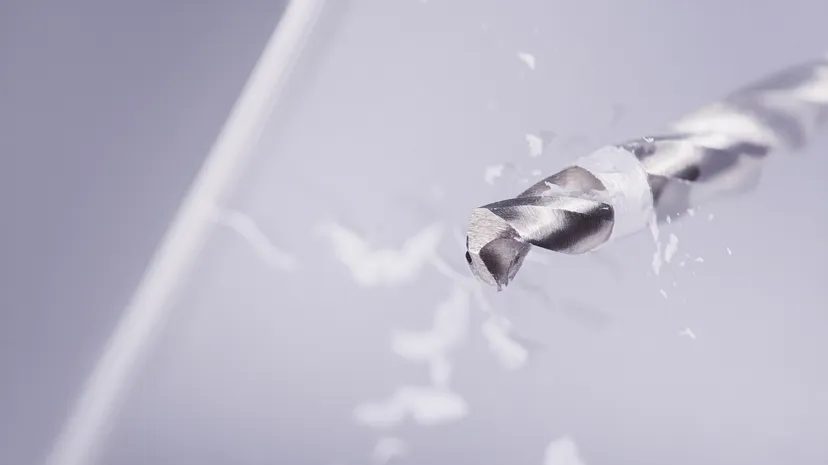
Glass is everywhere. From the coffee maker on your counter to the artwork on the wall, it’s a staple of modern life. But it has a reputation for being unforgiving. You can’t just grab a standard twist bit and hope for the best. If you want to know how to drill a hole in glass to install hardware, create a custom fixture, or do a DIY project, you need a different approach.
Success does not depend on brute force. It’s all about patience. It’s about understanding that you are working with a material that is hard, brittle and heat sensitive. With the right tools and a steady hand, anyone can do it. Here’s how to do it without destroying your project.
Understand the properties of glass
You can’t drill what you don’t understand. Glass is deceptively simple, but behaves differently than wood or metal. It doesn’t bend. It doesn’t compress. If you press too hard, it won’t give; it breaks.
It is also incredibly hard. This hardness is why standard bits fail. You need special tools. Carbide-tipped or diamond-tipped bits are the only real options for clean work.
Then there is heat. Friction creates heat. Glass hates heat. Sudden temperature changes cause internal stresses that lead to cracks. Without adequate cooling, the glass will shatter before you finish the hole.
Finally, not all glass is the same. Tempered glass, annealed glass, thick plate, thin sheet – they all react differently. You have to adapt your technique to the material.
Choose the right tools
Buying the wrong tool is the fastest way to break glass. It also increases the risk of injury. Here’s what you really need.
Drill
You have three main options. Choose according to your skill level and frequency of use.
- Diamond-tipped drill bits : These are the pro choice. They are durable, hard and neatly cut. If you plan to drill glass often, this is the gold standard.
- Carbide-tipped glass and tile bits : a cheaper option. Suitable for occasional use or small holes. They wear faster than diamond bits, but get the job done.
- Spear-headed glass drill bits : These are spear shaped and offer precision. They are ideal for detailed work or smaller diameters.
Drill
You can use a regular drill or an drill press.
A regular drill will work if you’re careful. You need to stick to low speeds. High speed means heat. Heat means cracks.
A drill press is better. It holds the bit steady. It ensures that the hole goes straight down. If you are drilling multiple or larger holes, invest in a press. Stability is everything.
Additional tools
The drill is only half the battle. You will need these accessories:
- Coolant : Water or lubricating oil. You need to keep the denture and glass cool. Moisten the area or dip the bit frequently.
- Finishing tools : fine-grained sandpaper or diamond file. You will need these to smooth the edges after drilling.
- Safety equipment : This is non-negotiable. Wear safety glasses. Use a dust mask. Wear gloves. The glass shards are sharp and fly in the air.
Drill holes in the glass
You have the tools. You are protected. Now let’s drill. Follow these instructions carefully.
Glass Preparation
- Clean the glass : Wash the surface with a mild detergent and water or use a glass cleaner. Remove all dirt and grease.
- Mark the spot : Mark the drilling location with a non-permanent marker.
- Secure the glass : Place it on a flat, stable surface. Use clamps or a non-slip rubber pad to prevent slipping.
- Apply tape : Place a piece of masking tape or masking tape over the mark. This prevents the drill bit from slipping and reduces chipping.
Drilling Technique
- Set up the drill : Insert the correct bit. Set the drill to the lowest speed.
- Start slowly : Place the drill bit over the mark. Use light pressure. Don’t force it. Hold the drill steady.
- Keep it cool : This is the most important step. Spray the area with water or use a drip system. Keep the glass and bit wet. If it gets hot, stop.
Finishing
- Smooth Edges : Once the hole is through, remove the rough edges with fine grit sandpaper. Be gentle.
- Cleaning : Remove the tape. Wash off the glass dust and residue.
- Check : Check for sharp edges or irregularities. Sand again if necessary.
Mastering the art of glass drilling
It feels scary at first. The fear of breaking the piece is real. But it is manageable.
You need the right bit. You need a steady hand. You have to keep the glass cool. If you do these three things, you’ll get a clean hole.
Whether you are making home decor, custom fixtures or just fixing something, the technique is the same. Prepare well. Choose carefully. Drill slowly.
Safety is always a priority. Protect your eyes. Protect your hands. By practicing, you gain the confidence to take on projects that add value to your home or your hobbies.
The glass is ready. The bit is sharp. The water is running. What are you going to create?